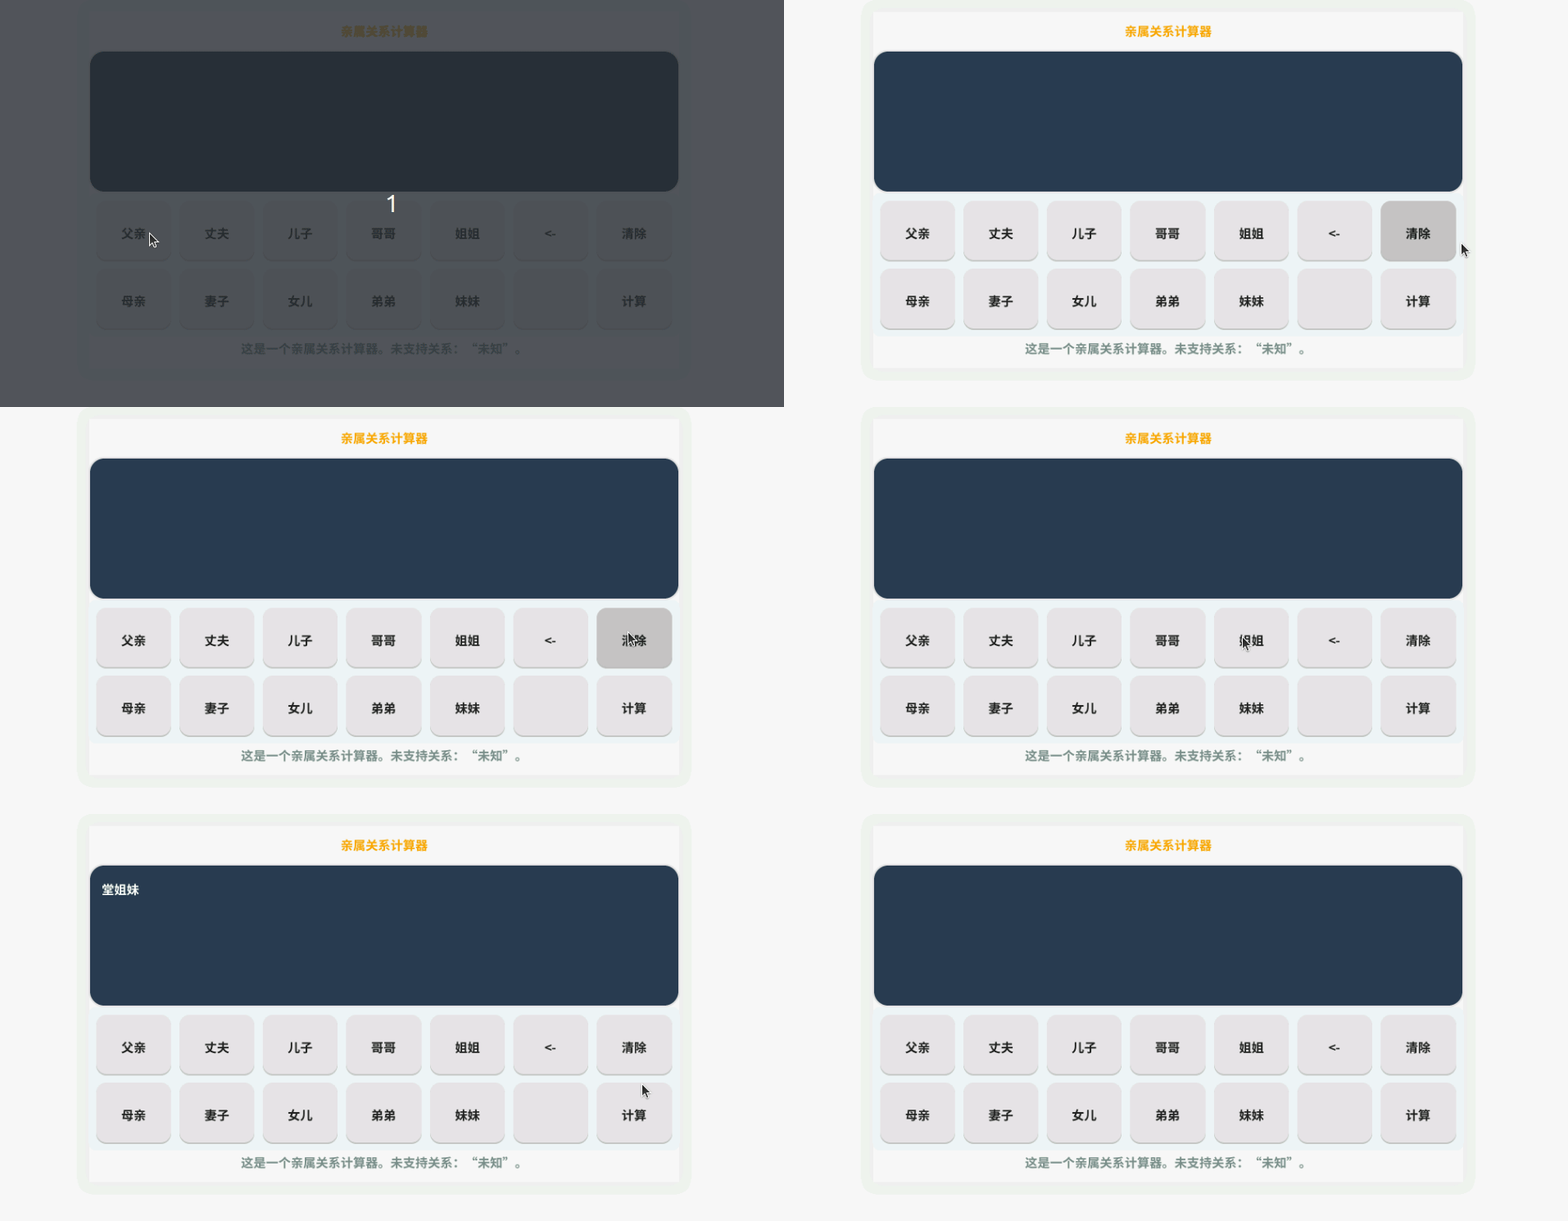
This document provides a comprehensive guide to building, deploying, and running the Relatives Calculator demo application on the openvela system. It covers procedures for both the QEMU emulator and the ESP32-S3-BOX development board, as well as how to customize the application by adding new relationships.
I. Demonstration

II. Build and Run
This section walks you through the entire process, from project configuration to launching the application on your target platform.
Prerequisites
Before you begin, ensure you are in the root directory of the openvela repository. All commands in this guide assume they are executed from this location.
Step 1: Configure the Project
Use the menuconfig utility to enable the Relatives Calculator demo application.
-
Launch menuconfig by selecting the command that matches your target platform:
-
For the QEMU emulator:
./build.sh vendor/openvela/boards/vela/configs/goldfish-armeabi-v7a-ap menuconfig -
For the ESP32-S3-BOX development board:
./build.sh nuttx/boards/xtensa/esp32s3/esp32s3-box/configs/lvgl-3 menuconfig
-
-
Inside the menuconfig interface, press the / key to open the search tool. Find and enable the following configuration option:
LVX_USE_DEMO_RELATIVES_CALCULATOR=y -
Save your configuration and exit menuconfig.
Step 2: Build the Project
It is recommended to clean previous build artifacts before starting a new compilation to avoid potential conflicts.
-
Clean previous build artifacts (distclean):
-
For the QEMU emulator:
./build.sh vendor/openvela/boards/vela/configs/goldfish-armeabi-v7a-ap distclean -j8 -
For the ESP32-S3-BOX development board:
./build.sh nuttx/boards/xtensa/esp32s3/esp32s3-box/configs/lvgl-3 distclean -j8
-
-
Execute the build:
-
For the QEMU emulator:
./build.sh vendor/openvela/boards/vela/configs/goldfish-armeabi-v7a-ap -j8 -
For the ESP32-S3-BOX development board:
./build.sh nuttx/boards/xtensa/esp32s3/esp32s3-box/configs/lvgl-3 -j8
-
Step 3: Deploy and Run the Application
After a successful build, follow the instructions for your target platform to deploy the firmware and run the calculator.
Option A: Run on the QEMU Emulator
-
From the openvela root directory, start the emulator:
./emulator.sh vela -
Once the openvela terminal (openvela-ap>) appears, run the following command to start the application in the background:
rel_cal &
Option B: Run on the ESP32-S3-BOX Board
-
Flash the Firmware:
Connect the ESP32-S3-BOX board to your computer via USB. Run the following command to flash the firmware. Remember to replace /dev/ttyACM0 with your device's actual serial port.
pushd nuttx && make -j8 flash ESPTOOL_PORT=/dev/ttyACM0 ESPTOOL_BINDIR=./ && popd -
Open the Serial Terminal:
Use a serial terminal tool like minicom to monitor the device output and interact with the Shell.
sudo minicom -D /dev/ttyACM0 -b 115200 -
Start the Calculator:
In the minicom terminal, enter the following command.
rel_cal &
III. Customizing the Application
You can extend the calculator's functionality by adding new relationships. All modifications are made within the demos/relation_calculator/relation_cal.c file.
The calculator uses a state transition model to determine the final relationship. To add a new relationship, you need to define its transition logic and its corresponding name.
1. Define the Relationship Logic
In the transitions array, add a new entry to define how relationships combine. Each entry follows the relation_transformation_t struct format.
For example, [Me] [Father] = [Father] is defined as: {ME, FATHER, FATHER}.
// Defines the logic for relationship transitions
typedef struct relation_transformation_s
{
    relation_type_t from;   // The current relationship state
    relation_type_t to;     // The new input relationship (button pressed)
    relation_type_t result; // The resulting relationship state
} relation_transformation_t;

// Add new state transitions to this array
static const relation_transformation_t transitions[] = {
    // ... existing transitions ...
    { ME, FATHER, FATHER }, // Example: "My" + "Father" results in "Father"
    // Add your new transition logic here
};
2. Define the Relationship Type and Name
First, add a new enumerator to relation_type_e. Then, add the corresponding display name as a string to the relation_names array.
Important: The order of entries in the relation_names array must exactly match the order in the relation_type_e enum to ensure the calculator displays the correct text.
// 1. Add the new relationship type to the enum
typedef enum relation_type_e
{
    // ... existing types ...
    NEW_RELATIONSHIP, // Your new relationship type
} relation_type_t;

// 2. Add the corresponding name to the names array
static const char *relation_names[] = {
    // ... existing names ...
    "New Relationship", // The display name for NEW_RELATIONSHIP
};
After making these changes, rebuild and deploy the project to see your new relationship in the calculator.
IV. Implementation Overview
The Relatives Calculator is implemented using a state transition system. Each button press triggers a state change, transforming the current relationship (e.g., "Me") into a new one (e.g., "Father") based on a predefined transition table. This model provides a clear and extensible way to manage complex family relationship calculations.
V. Contributing and Future Improvements
The current state-transition implementation requires a significant amount of predefined static data to build a complete relationship graph. We are actively seeking more efficient and scalable models to optimize the relationship network.
If you have ideas for a better implementation or want to contribute, we welcome you to open an Issue or submit a Pull Request to discuss your approach with the community.